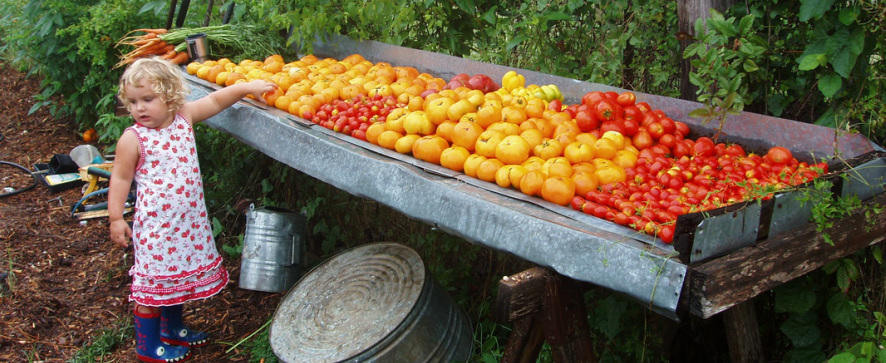
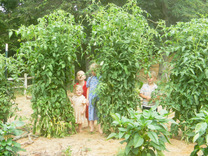
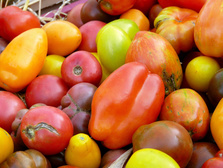
"One day's harvest" our friend Bill J's granddaughter lending a helping hand.
Growing Tips
Please see our 'Tomatoes for Containers' page
for a few more specified tips
Sight Selection & Preparation -

Full sun -
Tomato plants must be grown in full sun, or damn near. A minimum of eight hours of direct sunlight are necessary for flowering. The more sun the plant can get, the more fruit you can get. Like Jerry Parsons says "If there is a tree on the horizon, it's too close." Shade can be added later on via taller plants or man-made...
Tomato plants must be grown in full sun, or damn near. A minimum of eight hours of direct sunlight are necessary for flowering. The more sun the plant can get, the more fruit you can get. Like Jerry Parsons says "If there is a tree on the horizon, it's too close." Shade can be added later on via taller plants or man-made...
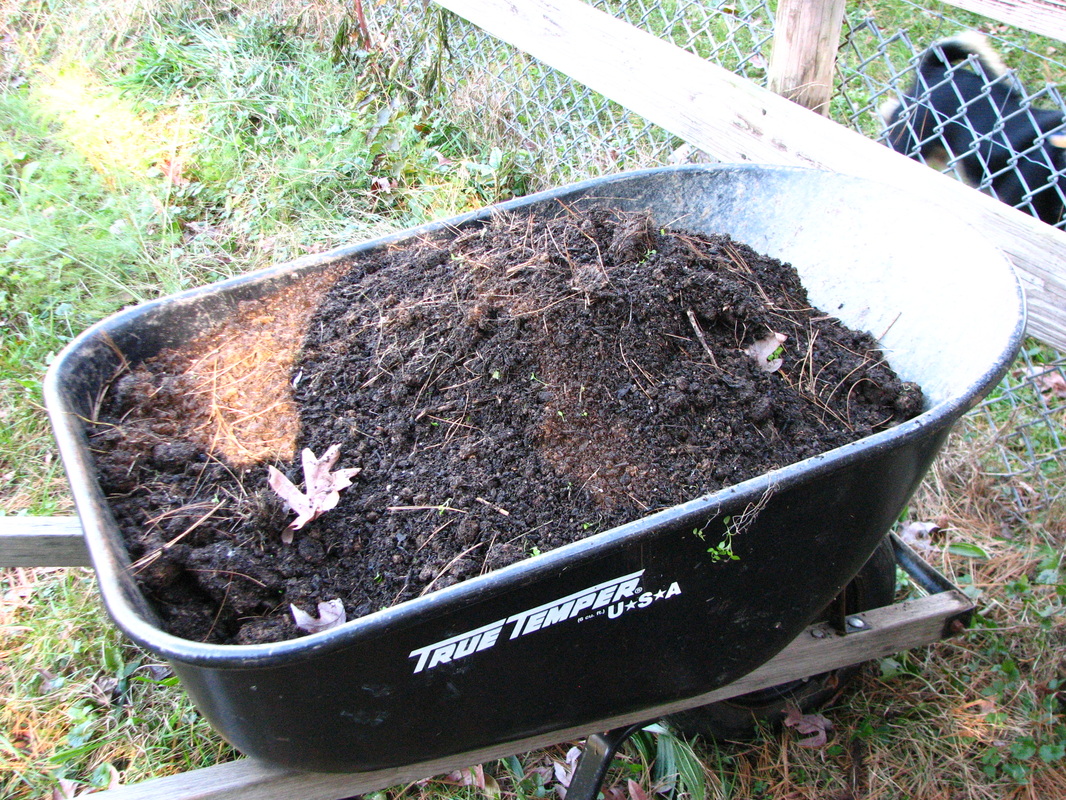
Add Compost -
If working virgin ground, apply a 3" layer of compost over the whole bed area and work in 6"-12" deep with a tiller or turning fork. If using a tiller, borrow or rent; this initial tilling is the only time you might ever need it! All other "tilling' can be achieved easily hereafter with a turning fork.
If working virgin ground, apply a 3" layer of compost over the whole bed area and work in 6"-12" deep with a tiller or turning fork. If using a tiller, borrow or rent; this initial tilling is the only time you might ever need it! All other "tilling' can be achieved easily hereafter with a turning fork.

Add Volcanic Rock - Para-magnetic Energy
O.k. time to put on your tinfoil hats...
Look in to 'rock powders'; , lava sand, basalt, greensand and granite, added to your garden soil, these provide long term stores of trace minerals making for stronger and healthier plants. Worked into the soil is best, but I'm pretty lazy... I just broadcast over the surface and work in when I plant, or let the earthworms do their job. Look for 'Mineral's Plus' from Soil Mender.
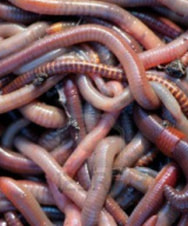
Add Earthworms!!! -
If you have any doubt about having enough earthworms in your garden, add a generous amount of earthworm casting as you back-fill in around your new plants. Awesome stuff... includes earthworm eggs as well.
Cheap and excellent...
There is simply no better fertilizer - for ANY plant -
than what comes out the back-end of an earthworm!
Planting Time -

Set Transplants Deep -
Prepare to set your new plants deep, dig out a deep hole or trench. Pick off lower leaves and set them in so that only two or three leaf sets are above soil level, with about an inch or two of stem exposed above the soil line. Plants that are a little 'tall' (technically they are vines, so I should say Long) can be laid sideways in a trench; new roots will form from all along the buried stem.
Back fill with your amended soil (see below) and water in, gently but thoroughly.
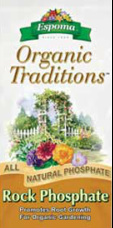
Rock Phosphate -
I don't much care what brand you use - just not 'Super' or 'Triple Phosphate', as they aren't quite 'Kosher'. Add a good handful of Rock Phosphate, also known as colloidal clay, to the bottom of each hole. Set the bottom of the root ball directly into this material. This is the single most important amendment you can offer your new plants. Phosphorus promotes strong roots and more blooms; the available calcium in Rock Phosphate builds stronger, more pest and disease resistant plants. Just do it! Try a 'with and without' side by side experiment; I don't plant anything without it! If you can't find it, Bone Meal works too... but I prefer R.P.
I don't much care what brand you use - just not 'Super' or 'Triple Phosphate', as they aren't quite 'Kosher'. Add a good handful of Rock Phosphate, also known as colloidal clay, to the bottom of each hole. Set the bottom of the root ball directly into this material. This is the single most important amendment you can offer your new plants. Phosphorus promotes strong roots and more blooms; the available calcium in Rock Phosphate builds stronger, more pest and disease resistant plants. Just do it! Try a 'with and without' side by side experiment; I don't plant anything without it! If you can't find it, Bone Meal works too... but I prefer R.P.

Add something 'Fishy'
Some folks closer to the coast may have access to the real thing... for the rest of us, a cup or two of dried fish meal buried a few inches under the root-ball will provide a protein packed jump start!
Some folks closer to the coast may have access to the real thing... for the rest of us, a cup or two of dried fish meal buried a few inches under the root-ball will provide a protein packed jump start!
Microrhyzal Innoculants -
Consider adding microrhyzal innoculants at this stage as well. These beneficial fungi will greatly enhance a plants ability to absorb water and nutrients; basically magnifying the root zone like 100x - instantly! This stuff is magic. Try a with and without and see what I mean. Works o.k. in potting soil, breathtaking in the garden! Ask your local nurseryman... ask at the box stores to, just for the dazed look in their eyes - always fun!
Consider adding microrhyzal innoculants at this stage as well. These beneficial fungi will greatly enhance a plants ability to absorb water and nutrients; basically magnifying the root zone like 100x - instantly! This stuff is magic. Try a with and without and see what I mean. Works o.k. in potting soil, breathtaking in the garden! Ask your local nurseryman... ask at the box stores to, just for the dazed look in their eyes - always fun!
Epsom Salt -
Brand is irrelevant, cheapest wins here. A very effective, and economical source of magnesium (and sulfur); many folks will put a tablespoon at the bottom of the planting hole, or a couple handfuls broadcast over the surface just after planting or as a soil drench. This will go a long way in helping to prevent the chemical imbalance which often leads to 'blossom end rot' - when the bottom of the fruit gets all brown and funky.
Brand is irrelevant, cheapest wins here. A very effective, and economical source of magnesium (and sulfur); many folks will put a tablespoon at the bottom of the planting hole, or a couple handfuls broadcast over the surface just after planting or as a soil drench. This will go a long way in helping to prevent the chemical imbalance which often leads to 'blossom end rot' - when the bottom of the fruit gets all brown and funky.
Setting up -
Spacing -
Set your plants at LEAST 3 feet apart.
Tomatoes are susceptible to mildew problems if they don't receive proper air flow; think roses.
Set your plants at LEAST 3 feet apart.
Tomatoes are susceptible to mildew problems if they don't receive proper air flow; think roses.

Mulching -
Using ground cedar mulch on top of your compost will help deter root rot nematodes. I also like alfalfa hay as mulch. I like the golden color it turns, the earthy smell, and all the nitrogen it adds! Whatever material you chose, use a thick 3-4" layer. Start about 3" away from the base of your new plant and cover all the bare soil up to the next plant, or at least a 3' diameter. This will cut your water needs in half. After the plants are about a month old, any time you think you need to water, pull the mulch back and feel the soil 2" deep first.
Using ground cedar mulch on top of your compost will help deter root rot nematodes. I also like alfalfa hay as mulch. I like the golden color it turns, the earthy smell, and all the nitrogen it adds! Whatever material you chose, use a thick 3-4" layer. Start about 3" away from the base of your new plant and cover all the bare soil up to the next plant, or at least a 3' diameter. This will cut your water needs in half. After the plants are about a month old, any time you think you need to water, pull the mulch back and feel the soil 2" deep first.
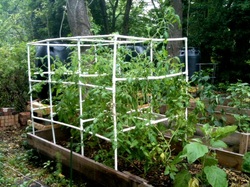
Support -
Cage up, trellis, or string guide indeterminate tomato varieties. This will give much needed support, and aid in fruit production. I would be disappointed if my plants didn't grow to at least 6'+ in length/ height each year. Many varieties will grow over their cages, down to the ground... root there, and grow back to the top of the cage in good years :) Determinate varieties will also benefit from support, but typically need not be as tall.
Cage up, trellis, or string guide indeterminate tomato varieties. This will give much needed support, and aid in fruit production. I would be disappointed if my plants didn't grow to at least 6'+ in length/ height each year. Many varieties will grow over their cages, down to the ground... root there, and grow back to the top of the cage in good years :) Determinate varieties will also benefit from support, but typically need not be as tall.
Early Wind Protection - Shade later -
Seriously consider the use of grow web fabric, if you don't already.
Sometimes called row cover, use it to surround your cages, protecting young plants. There are way too many benefits to list here.
Many different brands; some vary in thickness - a trade off of toughness of material vs. breathability; for wind protection, the lighter stuff is fine. This material can be used over the tops of plants later in the year as shade cloth.

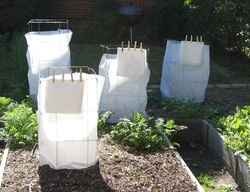
Wall-O-Water -
Very simple and efficient tool to help set plants out earlier in the season. They can add a whole lot of frost protection (pinch tops closed with clothespins during extreme cold snaps) not to mention complete wind protection for young plants. They are tricky to get the hang of... filling is easier with a bottomless 5-gal bucket acting as a form set inside. And don't forget to remove them BEFORE the plant gets too big!
Very simple and efficient tool to help set plants out earlier in the season. They can add a whole lot of frost protection (pinch tops closed with clothespins during extreme cold snaps) not to mention complete wind protection for young plants. They are tricky to get the hang of... filling is easier with a bottomless 5-gal bucket acting as a form set inside. And don't forget to remove them BEFORE the plant gets too big!
Basic Care -
Don't Over Water!
DON'T over-water. This is the single most frequent mistake made. An established tomato plant will perform at its best when watered DEEPLY every week to ten days or so (depending on weather and other issues). You cannot give a plant too much water, but you can do it too often. During mid summer, if your plants are still alive... it may be necessary to water twice a week... DEEP thorough drinks, with the soil properly mulched. And by all means avoid spraying the foliage, water the roots not the leaves; soaker- hoses or better yet drip emitters are the way to go!
DON'T over-water. This is the single most frequent mistake made. An established tomato plant will perform at its best when watered DEEPLY every week to ten days or so (depending on weather and other issues). You cannot give a plant too much water, but you can do it too often. During mid summer, if your plants are still alive... it may be necessary to water twice a week... DEEP thorough drinks, with the soil properly mulched. And by all means avoid spraying the foliage, water the roots not the leaves; soaker- hoses or better yet drip emitters are the way to go!

Foliar Feeding -
Apply regularly, about every two weeks. There are many recipes for foliar sprays and all have merit. Seaweed extract and molasses are probably the two most import ingredients to look for. This practice will eliminate 99% of spider mites and do a great deal to bolster overall plant health.
Apply regularly, about every two weeks. There are many recipes for foliar sprays and all have merit. Seaweed extract and molasses are probably the two most import ingredients to look for. This practice will eliminate 99% of spider mites and do a great deal to bolster overall plant health.

Corn Meal
|
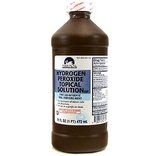
Hydrogen Peroxide
|
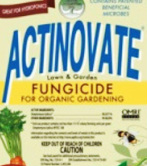
Biological
|

Baking Soda
|
Garlic
|
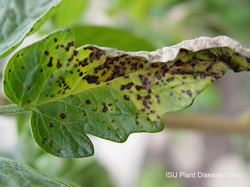
Fungus Controls -
All of the above have their followings....
Biological
Corn Meal
Hydrogen Peroxide
Baking Soda
Garlic
All of the above have their followings....
Biological
Corn Meal
Hydrogen Peroxide
Baking Soda
Garlic
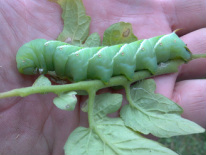
Horn Worm Control -Use a Bacillus thuringiencus product if necessary to control hornworms. Spray only the plant with an apparent problem. Hornworms usually twitch violently when sprayed with water. If you notice a damaged plant, spray it down (in early morning) and watch for the ‘dancing worm’. These are easily picked and discarded by hand.
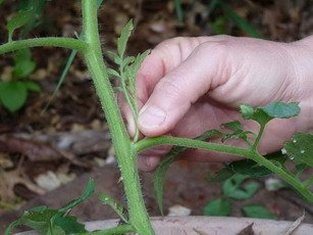
Pinching / Pruning / Removing Suckers????
To pinch or not to pinch.... this is the question
The other side of the story...
Every year folks ask me what I think... I found the above info out in the inter-web ether ... Way I see it , you have to grow a handful of the same variety, a few you pinch - a few you don't. Keep accurate records and then tell me... One person who says they did this "the un-pruned produced lots of fruit, the pruned plants produced fewer, but larger fruit"... So my bottom line is: do what you want!
Other useful advice -
Plant a Wide Variety -
Grow several tomato varieties; you can never tell which
will excel from one year to the next with our typically inconsistent Texas weather.
Just because a variety doesn't perform well one spring doesn't mean it won't the next year. Tomatoes can be challenging, and very rewarding to those who choose the struggle.
Companion Planting -
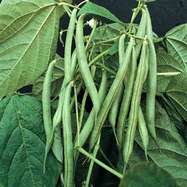
I like to plant a few bush beans at the foot of the western facing side of my tomatoes. All legumes add nitrogen to the soil. I will also grow snow peas and bluebonnets in my tomato beds as winter crops; being legumes they add loads of nitrogen and reduce the amount of fertilizer necessary. And of course, come summer, don't forget to plant some basil!!!
I like to plant a few bush beans at the foot of the western facing side of my tomatoes. All legumes add nitrogen to the soil. I will also grow snow peas and bluebonnets in my tomato beds as winter crops; being legumes they add loads of nitrogen and reduce the amount of fertilizer necessary. And of course, come summer, don't forget to plant some basil!!!
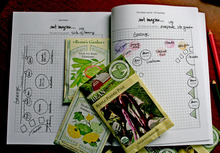
Documentation -
Keep an accurate garden journal. You will be amazed how often you will refer back to this useful little tool. Include planting dates, plant variety names and sources, soil amendments, fertilization and pest control application rates and times.
Keep an accurate garden journal. You will be amazed how often you will refer back to this useful little tool. Include planting dates, plant variety names and sources, soil amendments, fertilization and pest control application rates and times.
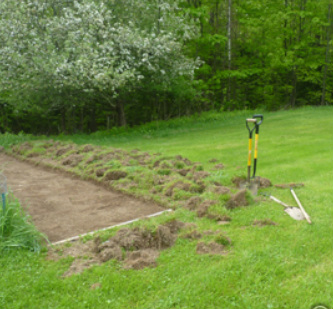
Expansion!!! -
Dig up your lawn and make room for more tomatoes!
Dig up your lawn and make room for more tomatoes!
Printer friendly version-
Please feel free to copy and share, just please keep our name attached.
“Anthropocentric as [the gardener] may be, he recognizes that he is dependent for his health and survival on many other forms of life, so he is careful to take their interests into account in whatever he does. He is in fact a wilderness advocate of a certain kind. It is when he respects and nurtures the wilderness of his soil and his plants that his garden seems to flourish most. Wildness, he has found, resides not only out there, but right here: in his soil, in his plants, even in himself...
But wildness is more a quality than a place, and though humans can't manufacture it, they can nourish and husband it...
The gardener cultivates wildness, but he does so carefully and respectfully, in full recognition of its mystery.”
― Michael Pollan, Second Nature: A Gardener's Education
But wildness is more a quality than a place, and though humans can't manufacture it, they can nourish and husband it...
The gardener cultivates wildness, but he does so carefully and respectfully, in full recognition of its mystery.”
― Michael Pollan, Second Nature: A Gardener's Education
